
Guides · 4 min read
15-Inch vs. 20-Inch Connectable Contour Gauges
Measure the outline, pin travel, and clearance before choosing between DODOWIN’s 5 + 10-inch and 10 + 10-inch kits.
Quick answer
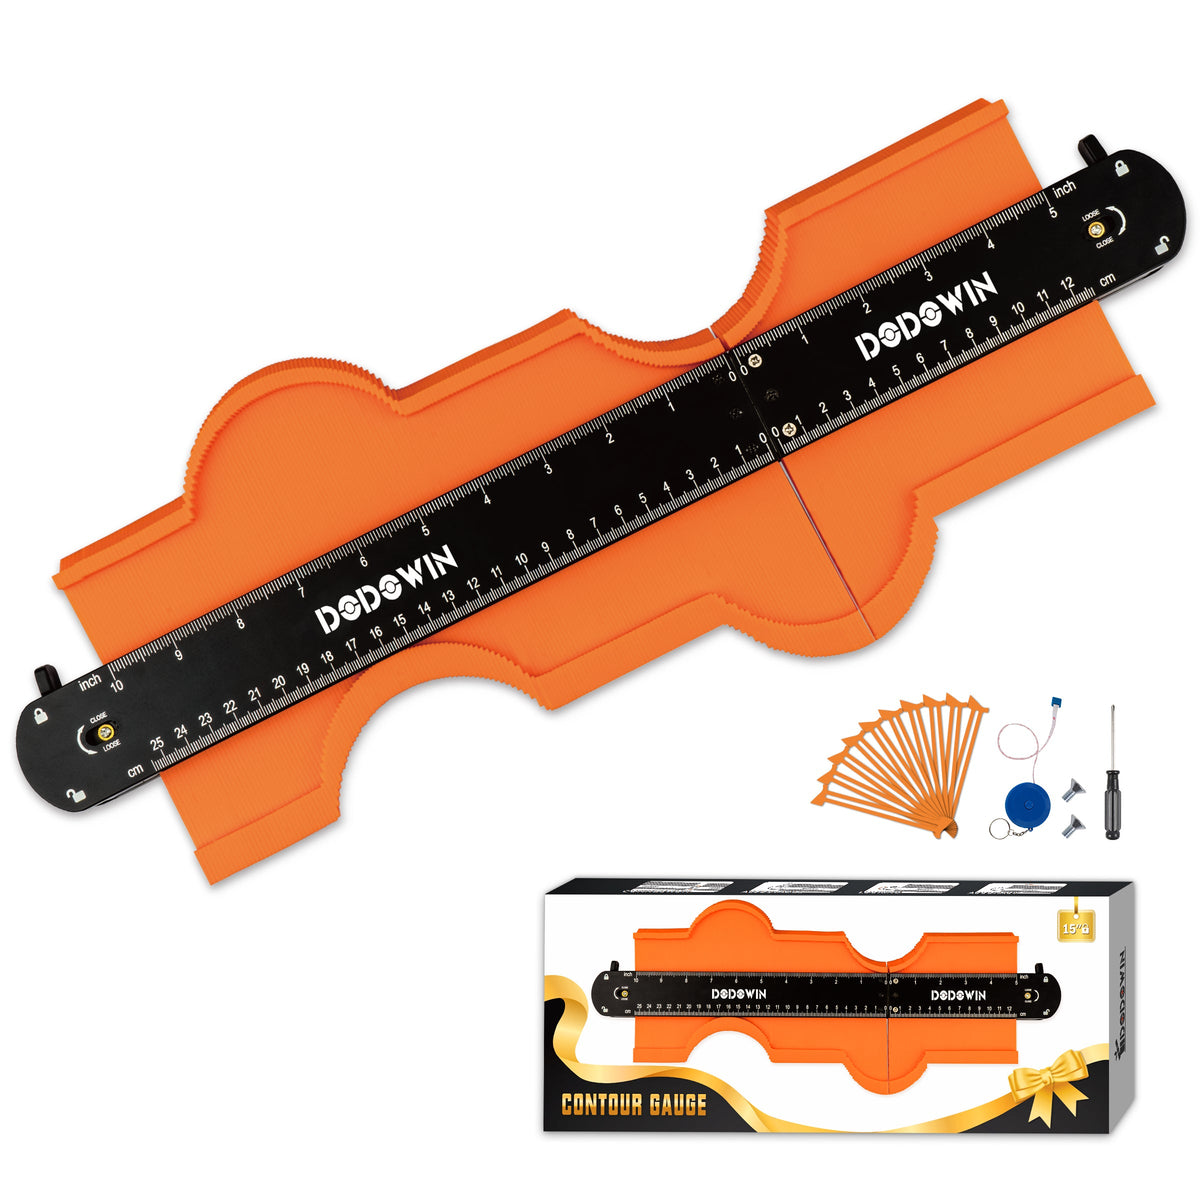
Choose the 15-inch DODOWIN connectable contour gauge if you want a shorter 5-inch section for tight spots and a 10-inch section for everyday marking. Choose the 20-inch kit if you often need to capture a longer outline in one setup and have space for the longer body. Before ordering, check how far the pins need to move as well as how much of the profile they need to span.
Compare the two kits
| Kit | Separate sections | Joined length | Reason to choose it |
|---|---|---|---|
| 15-inch | One 5-inch and one 10-inch section | 15 inches | You need a shorter body for some jobs and can use the joined kit for wider outlines. |
| 20-inch | Two 10-inch sections | 20 inches | You frequently need more span or want two equal-length sections. |


Check three dimensions before you order
- Span along the edge. Use a tape measure to find the distance between the outermost points your marks need to cover. Measure along the planned edge, with a little room for a straight reference mark if the layout allows it. For a pipe cutout, center the gauge on the section of the profile you actually need to mark.
- Depth of the shape. Estimate how far the deepest part of the outline sits behind the part that sticks out the most. Compare that distance with the gauge’s usable pin travel. A longer gauge only adds span. If your next job depends on a specific depth, ask for the usable travel for that kit before ordering.
- Clearance around the gauge. Check the space for the whole body, including its ends, as well as the open space you need to approach the profile straight on. A short section can be easier to place between two obstructions, even when you already own a long one.
Mark a fixed reference on a piece of stiff paper or cardboard, such as the front edge of the plank. Mark which face is up and which end points toward the wall. Transfer the outline to the template and hold it against the opening in the same orientation. If the reference mark lines up but the outline runs backward, check whether the template or plank was flipped. For flooring, use the clearances specified by the flooring manufacturer before marking the final cut.
Work through two examples
- A small pipe cutout close to an obstacle. If the area to trace is about 3 inches wide and a 10-inch body would hit the neighboring trim, check whether the 5-inch section and its ends can fit in the opening. The 15-inch kit gives you that smaller option. A paper template can help if there is still too little room to bring the pins in straight.
- An outline about 17 inches across. On a long, open stretch of trim, only the 20-inch kit of these two has a listed joined length above 17 inches. Check that the actual pin span covers both ends and that the pins have enough travel for the deepest point. If you make two partial traces instead, use the same straight reference and overlap the marks so you can align them on the template.
Compare the listed sections and product photos for the DODOWIN 15-Inch Connectable Contour Gauge and the DODOWIN 20-Inch Connectable Contour Gauge. The dimensions in the two examples are layout examples. Actual fit depends on the space, pin travel, and working span.
FAQs
Can I use the two sections separately?
Yes. The 15-inch kit lists individual 5-inch and 10-inch sections, and the 20-inch kit lists two individual 10-inch sections.
Will the 20-inch model reach into a deeper recess?
The 20-inch figure describes the joined length. Check usable pin travel and clearance for the recess separately.
Can I connect sections from different kits?
The product pages describe the sections supplied with each kit. For a mixed-kit setup, confirm the exact section models with DODOWIN support before buying parts.